Edit a channel
Every channel has its own detail panel, where you change its name, number, TV guide id, group and stream address, and switch its flags on or off. Use it for one channel at a time; for the same change on many channels, select them instead. Follow these steps to edit a channel.
Steps
- Open the channel: On the Channel editor tab, click the channel in the grid. The detail panel opens on the right.
- Rename it: Click the name at the top of the panel, type the new name and press Enter.
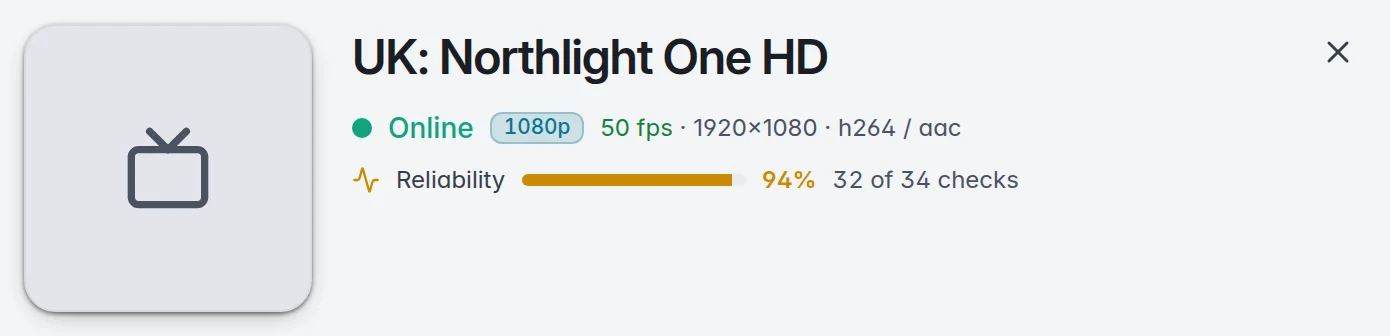
- Change the number: Type it in No. in the Channel row. It is the position of the channel in your customers' players.
- Change the guide id: Type it in Guide id in the same row. To search a guide by channel name instead, open the Guide section further down in the panel. More in Map the guide.
- Switch flags: Click a switch in the Customers row (Hidden, Adult 18+, PPV / event) or the Automatic row (Sync name, Sync logo, Testing off). A switch that is on turns purple with a tick. They save at once.
- Use a match: The section Looks like shows what M3UTool found in its channel library for this channel, with the clean name, logo and guide. Click Use this to take it over.
- Change the group or address: Open Group and stream address. Pick another group under Group, or correct the Channel link. The link saves when you click out of the box or press Enter.
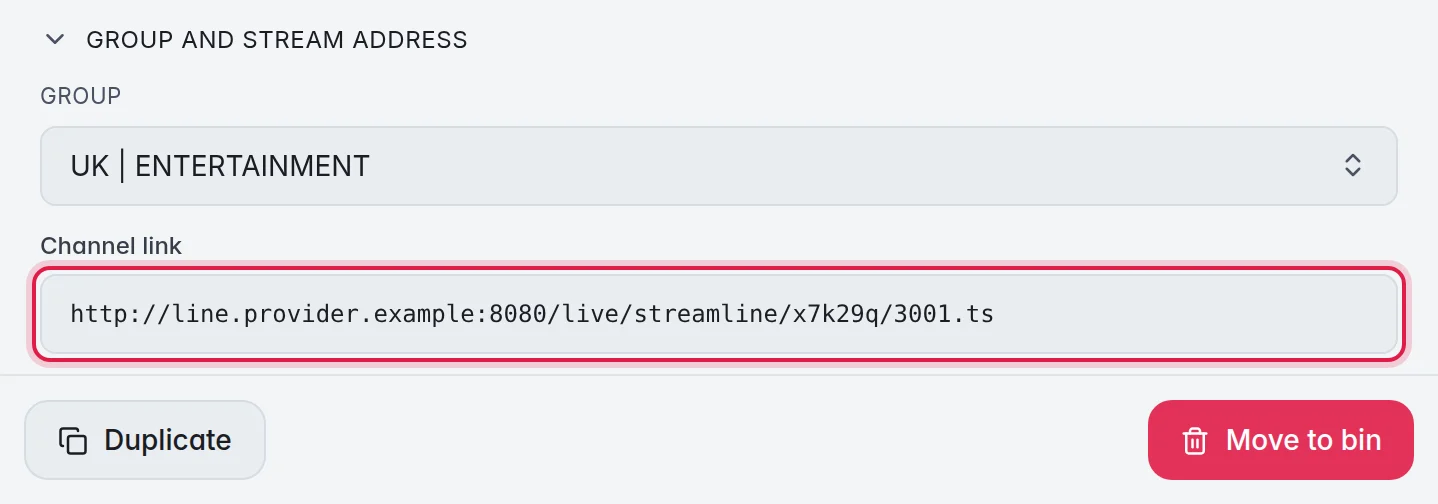
There is no Save button. Every change in the panel saves by itself.
The options
- No.: The channel number. Leave the field to save it. Sorting rewrites the numbers. More in Sort and reorder.
- Guide id: The id that links the channel to its programmes in the TV guide. Leave the field to save it.
- Shift: Moves this channel's guide by whole hours, from -23 to 23, and catch-up follows the guide. Example: 2 for a "+2" channel. More in Guide time shift.
- Sync name: When this is on, each refresh takes over the name your provider uses. When it is off, your own name stays.
- Sync logo: When this is on, each refresh takes over the logo your provider sends now. Good for providers that change their logo links often. When it is off, your logo stays.
- Adult 18+: Marks the channel as adult. Customers who block adult content do not see it.
- PPV / event: Marks an event channel, so its guide is built from live sports data. More in Live sports.
- Hidden: Your customers no longer see the channel. Testing off: Checks skip it. More in Hide or delete.
- Looks like: The settings button on the card chooses what Use this changes: Name, Logo, Guide and Genre. Keep prefix keeps a code like "UK:" in front of the new name. If the card says No match found, type another name in its search box and click Search.
- Fallbacks: A section further down on live channels. It lists the sources of the channel and lets you add fallbacks. More in Fallbacks.
- Custom tags: Audio language, Subtitle language, User-Agent, Referer and More tags for anything else. They go into your customers' M3U link and the M3UTool apps, and our checks use them. More below.
- Health: Quick check and the check history. More in Quick check.
- Duplicate and Move to bin: At the bottom of the panel. Duplicate puts a copy right under the channel.
Custom tags
Some providers only play a stream for a certain player, or ask where it is opened from. Some streams have several sound tracks or subtitles. Custom tags tell the players what to do.
- Open the section: Click the channel, then Custom tags in the panel on the right.
- Fill in what you need:
- Audio language: the sound that plays first, as a short language code, for example "sl" or "en". - Subtitle language: the subtitles offered first, for example "en". - User-Agent: the player name the provider wants, for example "VLC/3.0.20". - Referer: the address the provider wants, for example "https://example.com/".
- Your own tags: Under More tags, click + Add a tag and type a name and a value.
- Save: Each box saves when you click out of it.
For many channels at once, select them and open Custom tags in the panel on the right. Only the boxes you fill change. Type a single space to remove a tag, or click Clear all tags.
- Note: Players that use your customers' M3U link read the tags, for example VLC, TiviMate and Kodi. So do the M3UTool apps. Players that sign in with a username and password cannot get them.
- A fallback without tags of its own uses the tags of its main channel.
Good to know
- Note: The name, Number, guide id, Shift, Logo URL and Channel link save when you click out of the box or press Enter. Group and the switches save at once.
- A Channel link that is empty or not a full http(s) link is not saved. The box says "not saved yet · use a full http(s) link". This is so that a channel never loses its link by mistake.
- A small clock button next to the name shows At your provider: the name the provider uses. It only appears when your name differs from it.
- You can also rename in the grid: double-click the name, type and press Enter.
- The panel is the same on every tab. The tab only decides which section opens first: Health on Checker, Logo on Logos, Guide on TV guide and Posters & info on Posters & info. Click a section title to open or close it.
- Press Esc to close the panel.
- Note: For a series, the name at the top renames the whole show, and Move to group moves every episode. Two series cannot have the same name: M3UTool refuses a name another series already uses.
- More on the sections in Pick a logo and Map the guide.