Auto refresh
Auto refresh reads your provider again on a schedule, so new channels arrive and dropped ones leave without you doing anything. Your own edits stay as you made them. It works through update sources: a provider login that M3UTool reads again for this playlist. Follow these steps to set up auto refresh and check what it did.
Step 1: Open Auto refresh
- Open the playlist: Open the playlist in the editor.
- Open Auto refresh: Click Auto refresh in the bar on the left. The bar shows the names when you point at it.
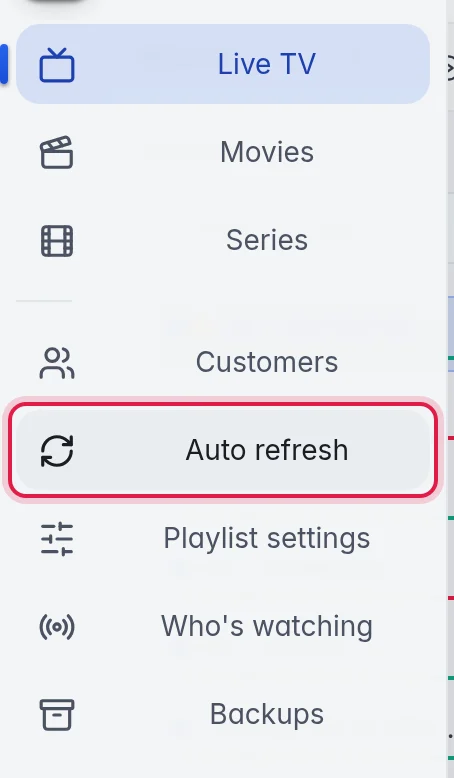
Auto refresh is one page. The menu on the left jumps to each part, and it follows you as you scroll. On a phone the menu is a row of buttons at the top.
- Overview: when the last update ran, when the next one starts, how many items it added and removed, and whether it worked. Below it you see what the last update changed.
- Automation: what runs after each update (fixing names, logos, posters, the TV guide and checks) is set in Playlist settings → Checks & updates. Click Open Playlist settings. More in Playlist automation.
- Groups, Group mapping, Sync rules and Connection: what is set for the source. The button on each part opens the settings.
- History: every update of the source, newest first.
Step 2: Add your provider (if there is none)
- Start: Click Add your provider at the top, or under the menu on the left. A window Add your provider opens with your playlist's provider already filled in. Once a provider is there, the menu says Add another provider.
- Connection: Give it a Label, choose Xtream or M3U URL, and check the Host, Username and Password, or the M3U / get.php URL. You can paste your whole provider link into Host, for example a get.php or player_api.php link, or a channel link like
…/live/user/pass/123.ts. It says "We split your link into host, username and password." and fills in all three. - Load the groups: Click Next · load groups. For a big provider this can take a minute. Keep the window open meanwhile.
- Pick groups: Step 2 is called … · Step 2 · pick the groups. Tick the groups this source should bring in. Each type has its own list with All, Invert and None.
- Schedule: Leave Automatic updates (run on a schedule) on.
- Create: Click Create source.
Tip: To add a second provider to the same playlist, use the same window. With two sources, buttons at the top of the Overview switch between them. More in Add another provider.
Step 3: Run it and check the result
- Run it now (optional): Click Update now at the top. A message says the update started, and another one when it is finished.
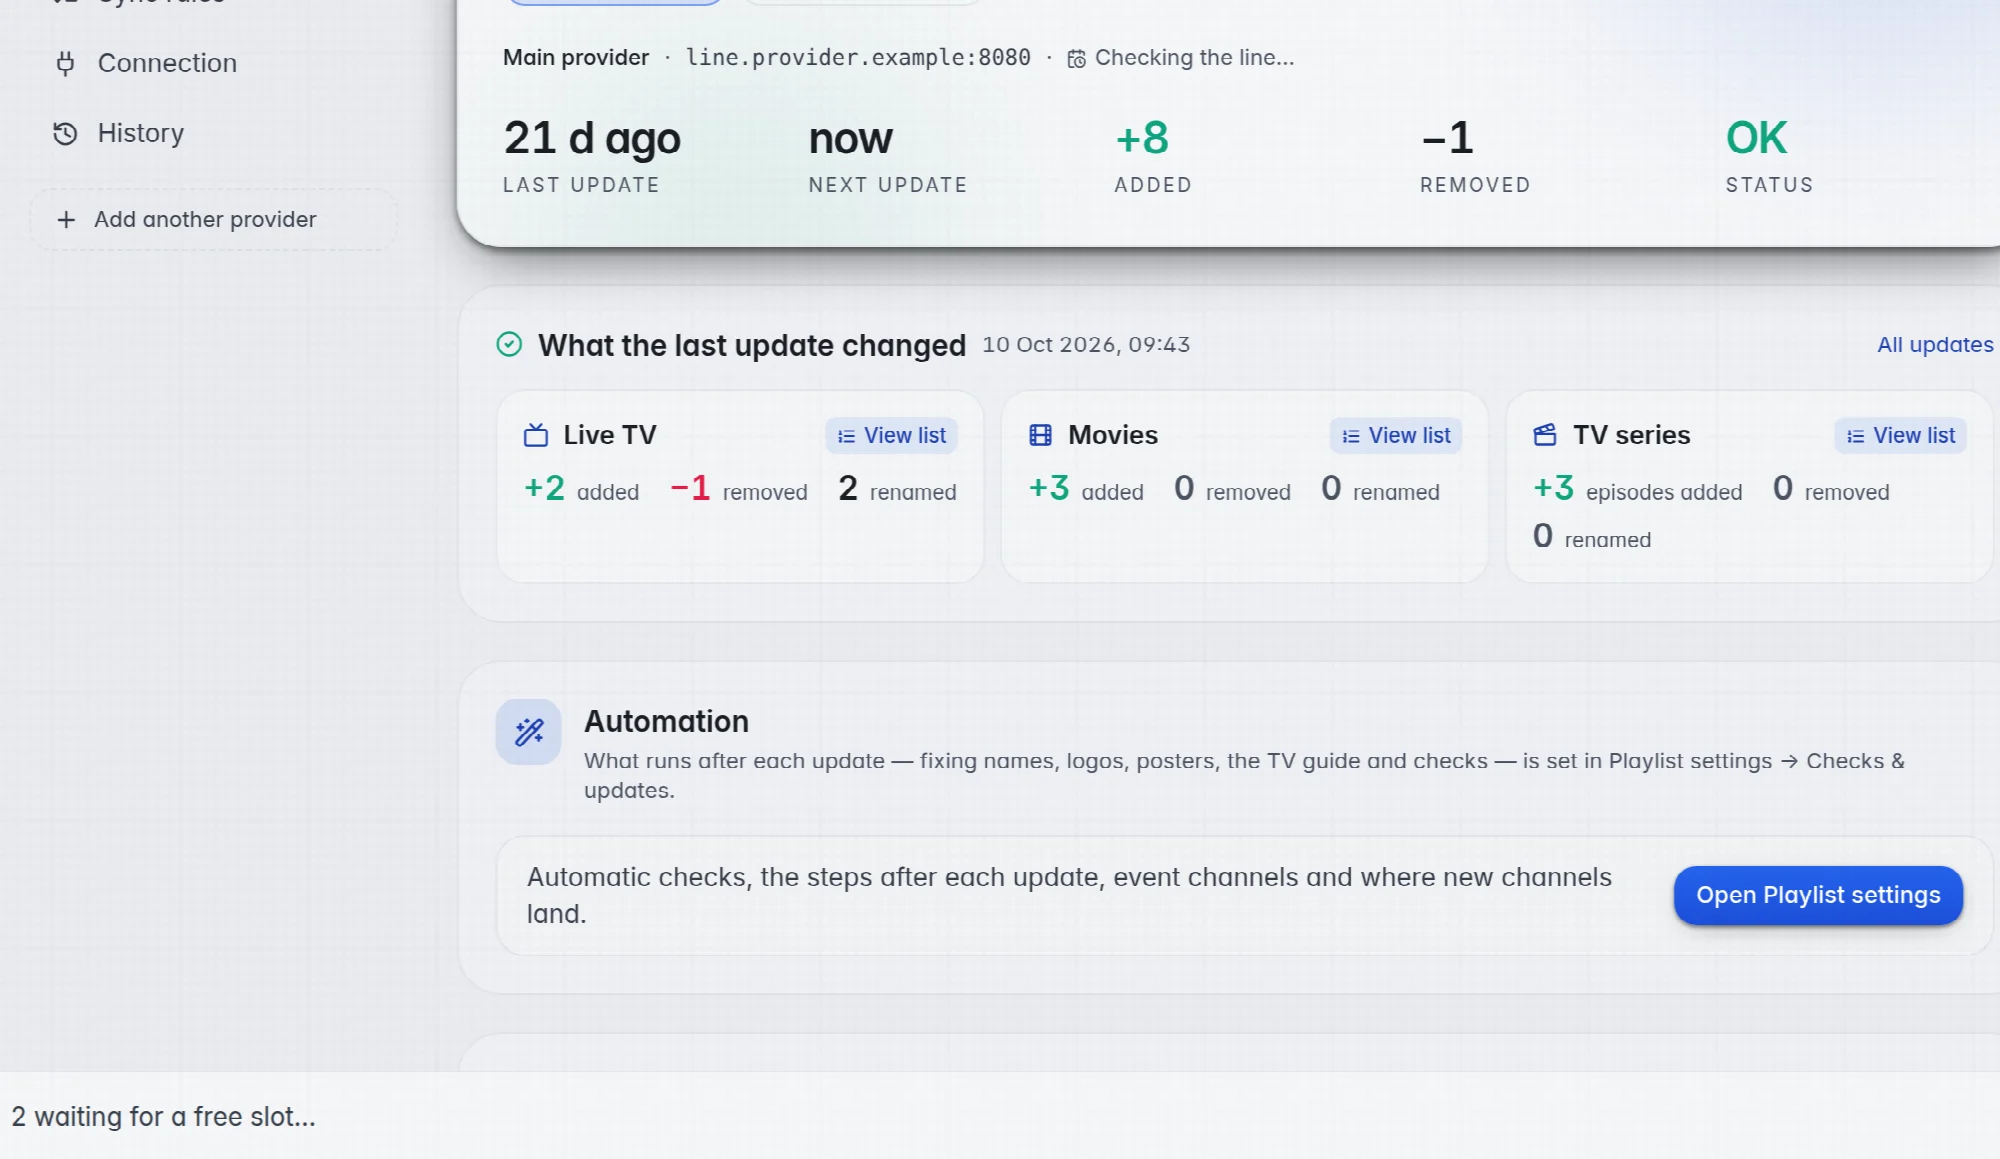
- See what changed: Under What the last update changed each type shows how many items were added, removed and renamed.
- See the details: Click a number, or View list, for the channels behind it, grouped by group.
- Older updates: Open History and click an update to see what it changed.
The settings of a source
Click Settings at the top, or the button on a part of the page. A panel opens on the right with four tabs. Changes save by themselves. A note at the bottom says saving and then saved. The provider login is the one exception, see below.
- Connection: the login, and Scheduled updates: on, the source runs on the schedule; off, only when you click Update now. The Live TV, Movies and TV series switches choose what the source refreshes. You can also switch Scheduled updates on the page, under Connection.
- Sync rules: what a run does. See below.
- Groups: the provider groups this source brings in. Unticked groups are skipped on every run. Your ticks save by themselves.
- Group mapping: sends new channels from a provider group into a group of your own. Pick one or more Source groups, then Your group, and click Add. The row goes into the list, and the list saves by itself. Example: the provider's "UK SPORTS HD" into your "UK | SPORTS". On the left you only see your provider's own groups, as the provider names them, and only the ones you bring in. On the right you see your playlist's groups. Without a mapping, new channels land in the provider's own group. When the list saves, channels that are still in that provider group move over too. A mapping marked Does nothing can never get a new channel, so you can remove it.
The provider login
The login on the Connection tab is the server or source URL, the username and the password. It does not save by itself. This is so that a half-typed login never moves your channels.
- Type the change: For example the new password.
- Save it: Click Save login. Your channels move to the new server or login by themselves.
- Until you save, a note says "Login not saved yet". Undo puts back the login as it was.
- When a field is missing, the note says so, for example "Host and username are needed" or "The source URL is needed".
- When you close the panel with a login that is not saved, it asks "Close without saving the login?" first.
The sync rules
- Add new channels & groups: brings in what the provider added. Channels you deleted into the Bin stay away until you empty them from the Bin too.
- Remove channels gone from source: channels the provider dropped are deleted for good. If the provider brings one back, it comes in as a new channel.
- Mass-deletion safeguard: skips removing when a run would remove an unusually large part, which usually means the provider sent a broken or half list. Safeguard limits set how much: Max channels removed per run (1500) and Max % of the source removed (50). The run history shows what was held back.
- Remove empty groups: deletes groups that have no channels left after a run.
- Import provider guide id (new only): new channels get the guide id your provider gives them.
- Sync names from provider (per-channel opt-in): replaces the name with the provider's name, only on channels with Sync name on. Useful for event channels whose name changes every day.
- Sync logos from provider (per-channel opt-in): replaces the logo with the logo your provider sends now, only on channels with Sync logo on. Useful when your provider changes its logo links often.
- Disable domain security check: a run stops when the provider's address differs from the address of your streams. Moved to a new server? Use Change provider… → New provider instead, which moves your channels with it. With this switch on, the next run adds every channel again.
Good to know
- Channels are read about every four hours, movies and series once a day. You cannot pick the time.
- A run that fails is tried again after a wait that grows each time. Update now never waits. More in How automation works.
- To finish new channels automatically after a run, turn on the steps in Playlist settings → Checks & updates. More in Playlist automation.
- Delete a source with Delete at the bottom of its settings, then Delete source. The auto refresh stops, and the channels it brought in stay.